HP Microserver Gen8 - 10GBit/s upgrade
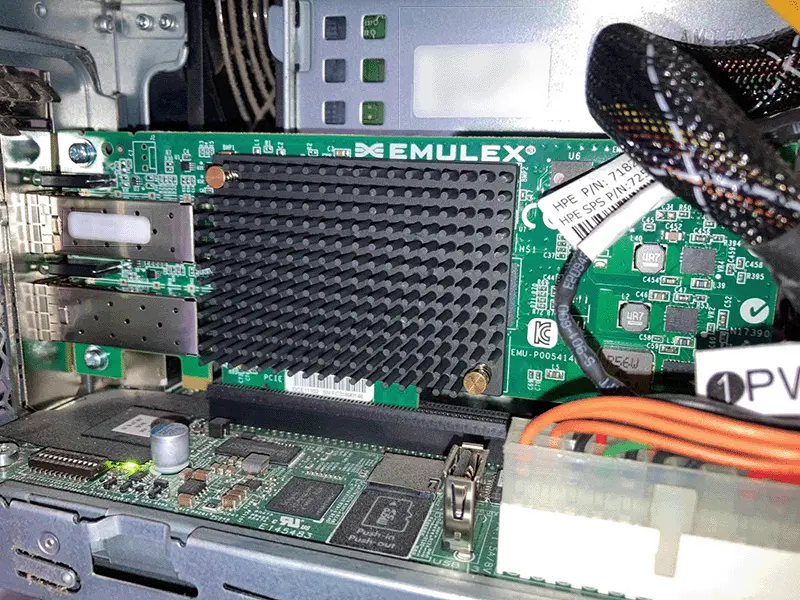
In the following post I will document my experience upgrading my HPE Proliant Microserver Gen8 with a Emulex OneConnect OCe11102 10Gbit/s NIC which I bought for ~30€. The goal is to create a fast 10Gbit/s connection between my NAS (Debian) and my desktop PC (Windows) without spending a fortune. I spent less than 100€ for all components (2x OCe11102 NIC and 2x Cisco SFP+ DAC cable).
NAS Setup
Check if the new NIC is detected using lspci.
07:00.0 Ethernet controller: Emulex Corporation OneConnect 10Gb NIC (be3) (rev 01)
07:00.1 Ethernet controller: Emulex Corporation OneConnect 10Gb NIC (be3) (rev 01)
Looks good, seems like no drivers are necessary here.
Network Setup
In this case simply assigning a static IP address is all I need. First let’s figure out the name of the interface using ip addr.
4: ens1f0: <BROADCAST,MULTICAST,UP,LOWER_UP> mtu 1500 qdisc mq state UP group default qlen 1000
    link/ether 00:90:fa:2d:c7:90 brd ff:ff:ff:ff:ff:ff
5: ens1f1: <NO-CARRIER,BROADCAST,MULTICAST,UP> mtu 1500 qdisc mq state DOWN group default qlen 1000
    link/ether 00:90:fa:2d:c7:94 brd ff:ff:ff:ff:ff:ff
Connecting/disconnecting the cable changes state UP on ens1f0 so this is the interface that needs to be configured. One way is to edit /etc/network/interfaces but I am going to use network-manager instead.
Run nm-connection-editor to bring up a GUI where you can edit network connections and properties. There is also nmcli if you want to use the terminal instead.
Now add a new ethernet connection and select the device to manage:
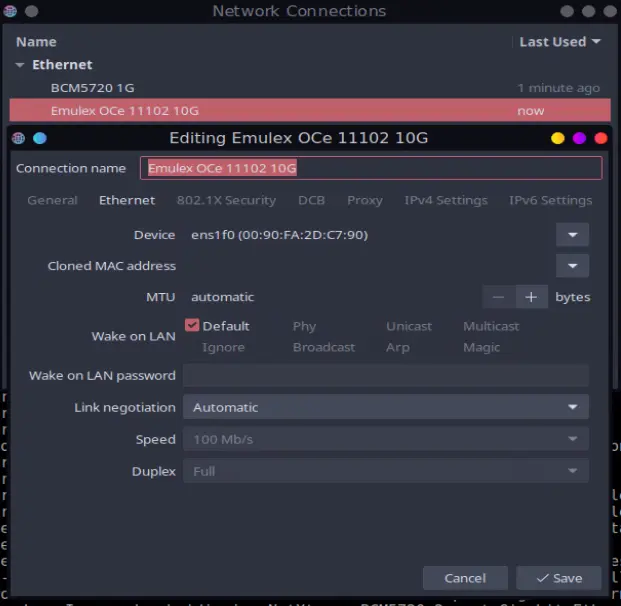
Then assign a static IP address, a gateway address is not needed since there is no external connection.
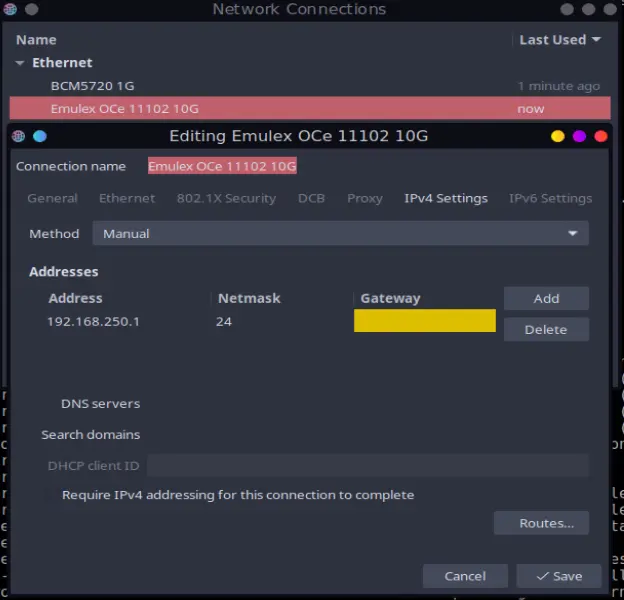
Run ip addr and check if the address was assigned:
4: ens1f0: <BROADCAST,MULTICAST,UP,LOWER_UP> mtu 1500 qdisc mq state UP group default qlen 1000
    inet 192.168.250.1/24 brd 192.168.250.255 scope global noprefixroute ens1f0
You might have to run sudo service network-manager restart to load the new settings.
Desktop PC Setup
First check if the NIC shows up in the UEFI and have a look at the settings. The only changes I made was switching the mode from FCoE to NIC and disabling PXE boot which for some reason increased boot time by ~20 seconds even if it was last in boot priority.
Network Setup
Open the Control Panel and navigate to the adapter settings window.
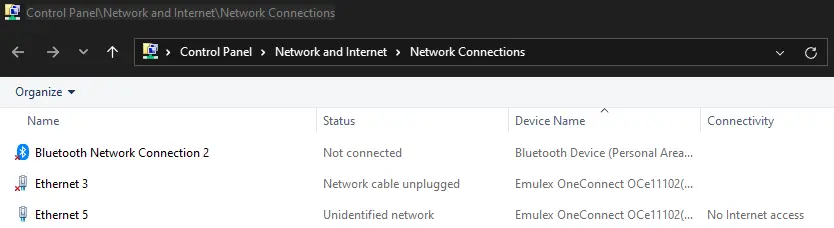
Right click > Properties on the connected adapter (Ethernet 5 in my case). Scroll down to “Internet Protocol Version 4 (TCP/IPv4)”, select it and click Properties. Set a static IP address in the same network as the NAS. DNS and gateway are not needed in this setup.
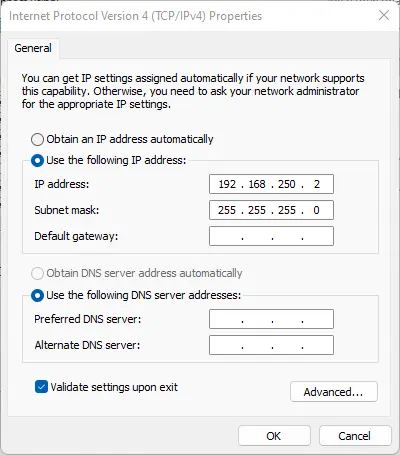
That’s it, the connection should be working now.
Result
Let’s run a quick performance test using iperf3.
Start a server instance on the NAS:
iperf3 -sAnd connect as a client from the desktop PC:
iperf3 -c 192.168.250.1 -p 5201 -bidirEverything seems to be working great. The limiting factor here is the rather slow Intel Celeron G1610T.
Connecting to host 192.168.250.1, port 5201
[  4] local 192.168.250.2 port 32744 connected to 192.168.250.1 port 5201
[ ID] Interval           Transfer     Bandwidth
[  4]   0.00-1.00   sec  1.01 GBytes  8.68 Gbits/sec
[  4]   1.00-2.00   sec   828 MBytes  6.95 Gbits/sec
[  4]   2.00-3.00   sec   765 MBytes  6.42 Gbits/sec
[  4]   3.00-4.00   sec   813 MBytes  6.82 Gbits/sec
[  4]   4.00-5.00   sec   824 MBytes  6.91 Gbits/sec
[  4]   5.00-6.00   sec   797 MBytes  6.69 Gbits/sec
[  4]   6.00-7.00   sec   801 MBytes  6.72 Gbits/sec
[  4]   7.00-8.00   sec   812 MBytes  6.81 Gbits/sec
[  4]   8.00-9.00   sec   835 MBytes  7.00 Gbits/sec
[  4]   9.00-10.00  sec   828 MBytes  6.94 Gbits/sec
- - - - - - - - - - - - - - - - - - - - - - - - -
[ ID] Interval           Transfer     Bandwidth
[  4]   0.00-10.00  sec  8.14 GBytes  6.99 Gbits/sec                  sender
[  4]   0.00-10.00  sec  8.14 GBytes  6.99 Gbits/sec                  receiver
But since SATA3 is limited to 6GBit/s anyways the performance is more than sufficient and a huge improvement over the 1GBit/s connection. Another advantage of the seperate connection is that I’m now able to copy files without impacting my internet speed.